arcgis-212244
Inspecting mapped polygons and attributes
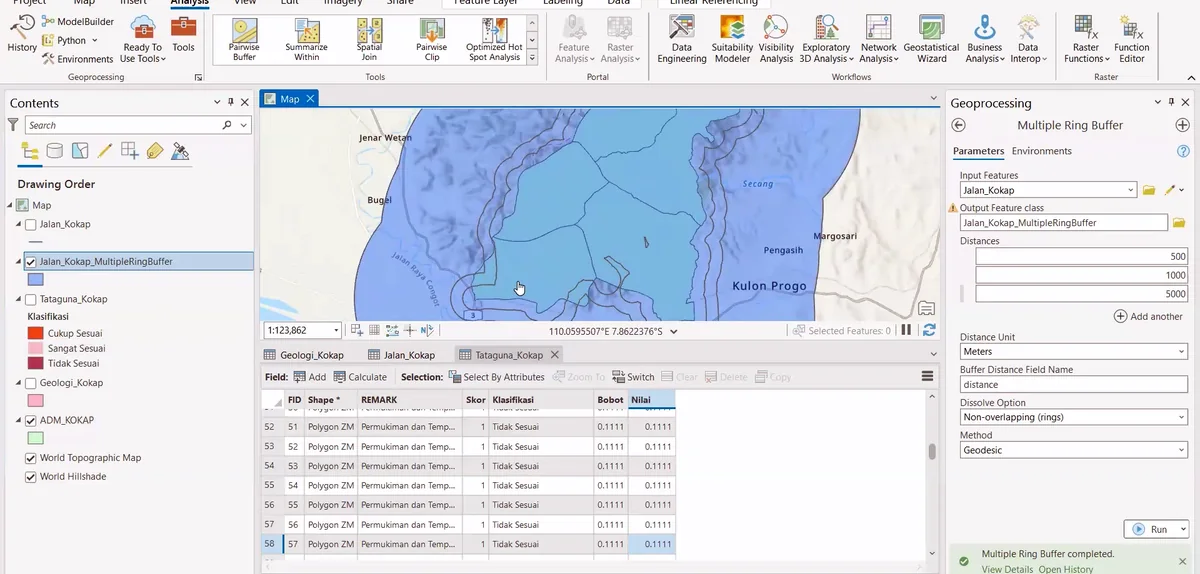
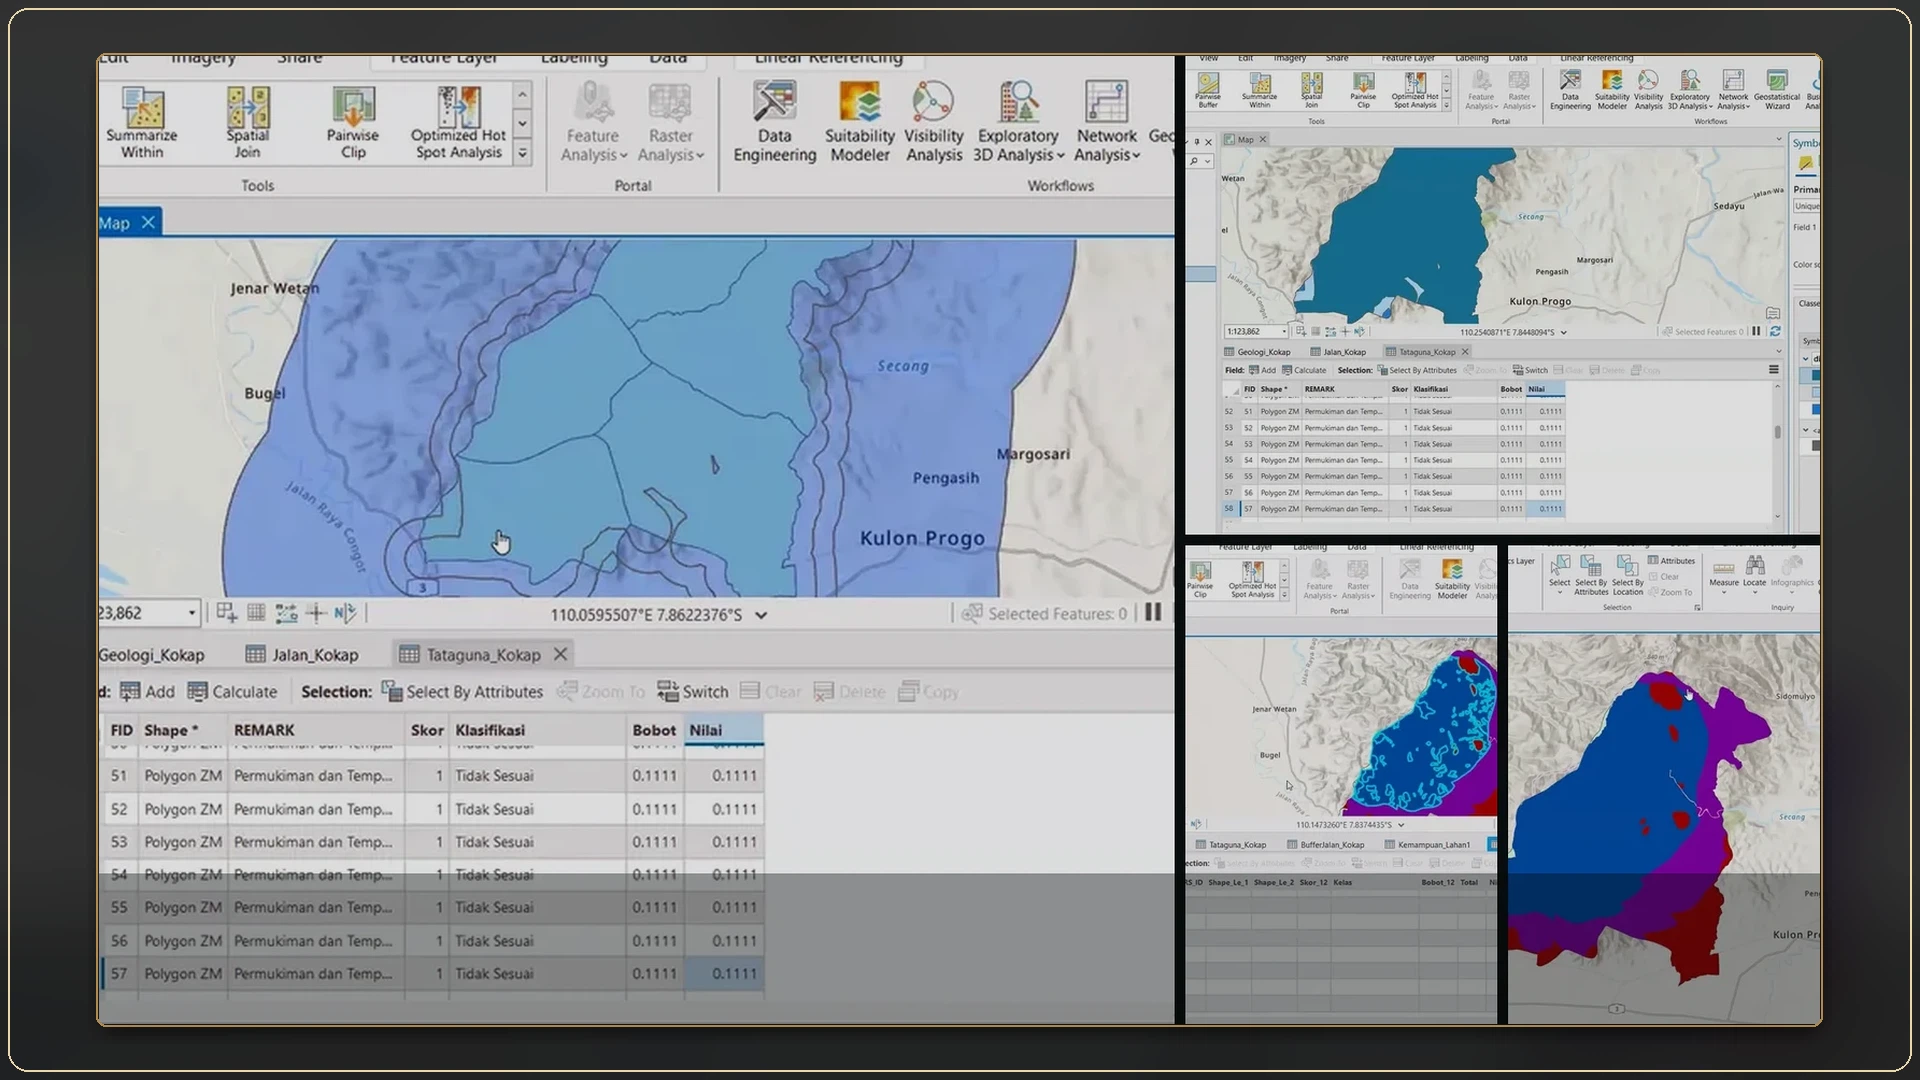
Stage 01 of the ArcGIS Pro sequence: the map, layer list and attribute table are reviewed together to confirm polygon identity, field values and layer order before symbol assignment.
ALBUM
All 10 records are shown below.
Stage 01 of the ArcGIS Pro sequence: the map, layer list and attribute table are reviewed together to confirm polygon identity, field values and layer order before symbol assignment.
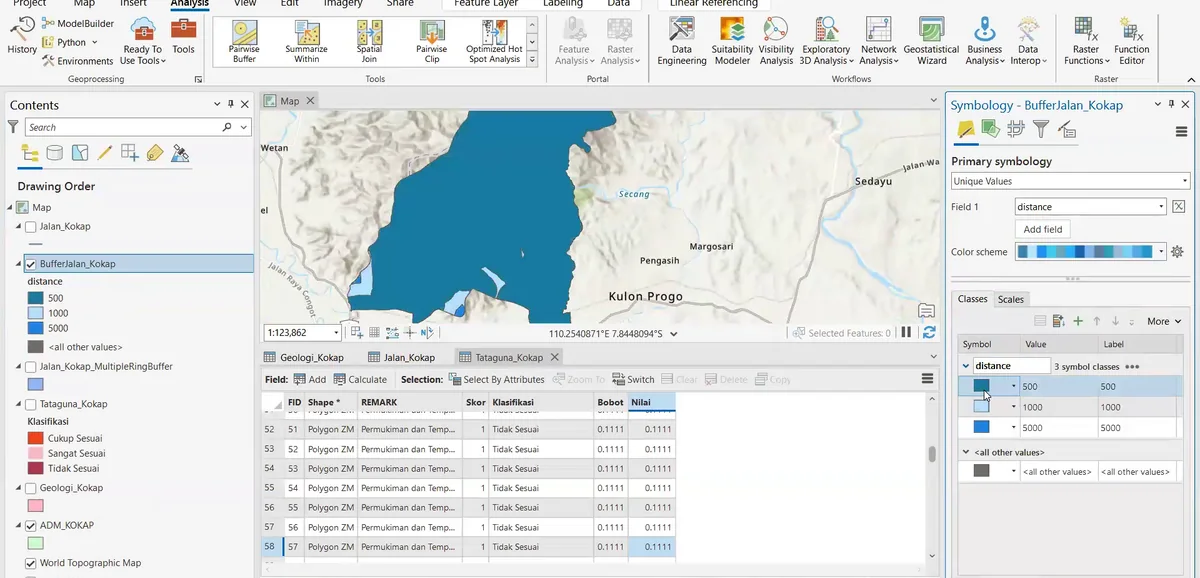
Stage 02 of the ArcGIS Pro sequence: a selected polygon layer is symbolised from its geological attribute, with fill colour and class settings adjusted in the Symbology pane.
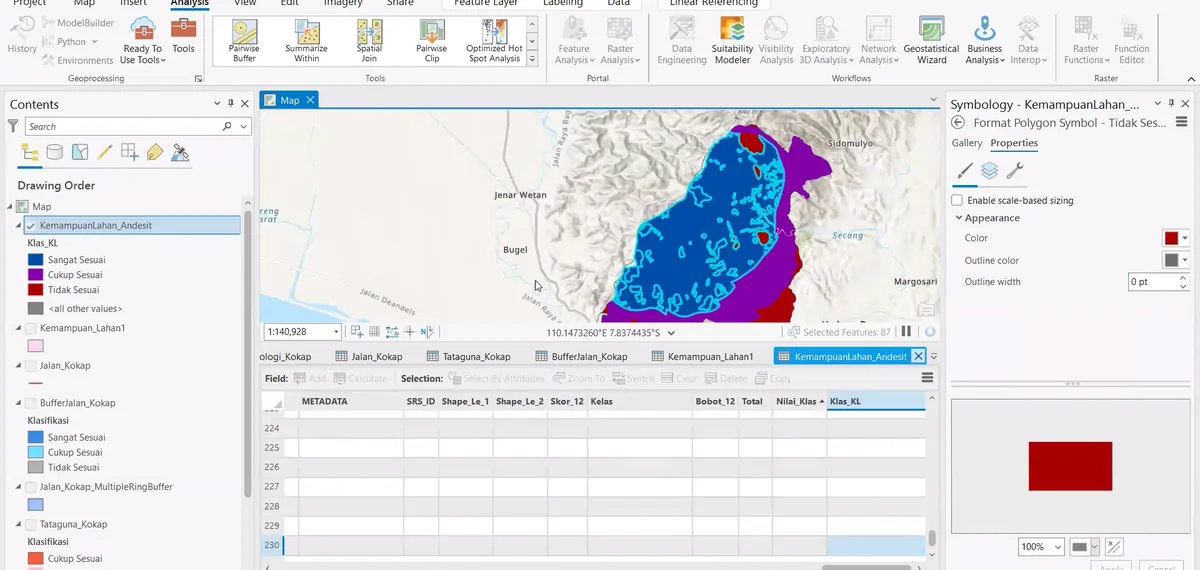
Stage 03 of the ArcGIS Pro sequence: colour-coded polygons are compared with the attribute table to verify that each mapped unit is assigned to the intended class.
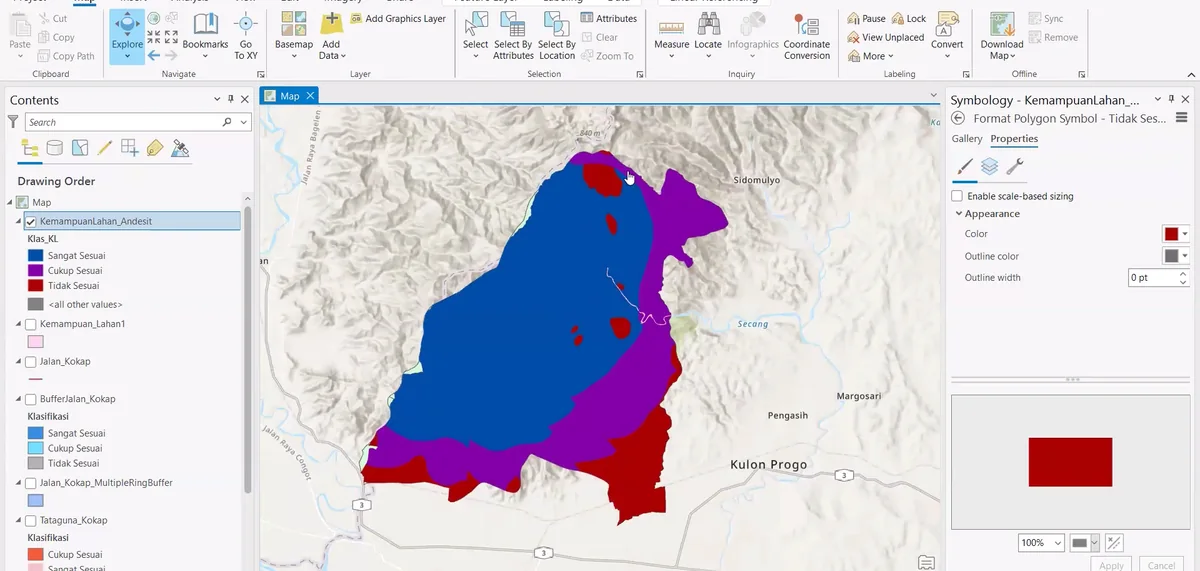
Stage 04 of the ArcGIS Pro sequence: symbol properties are adjusted for individual geological classes while the mapped polygons remain visible against the terrain base.
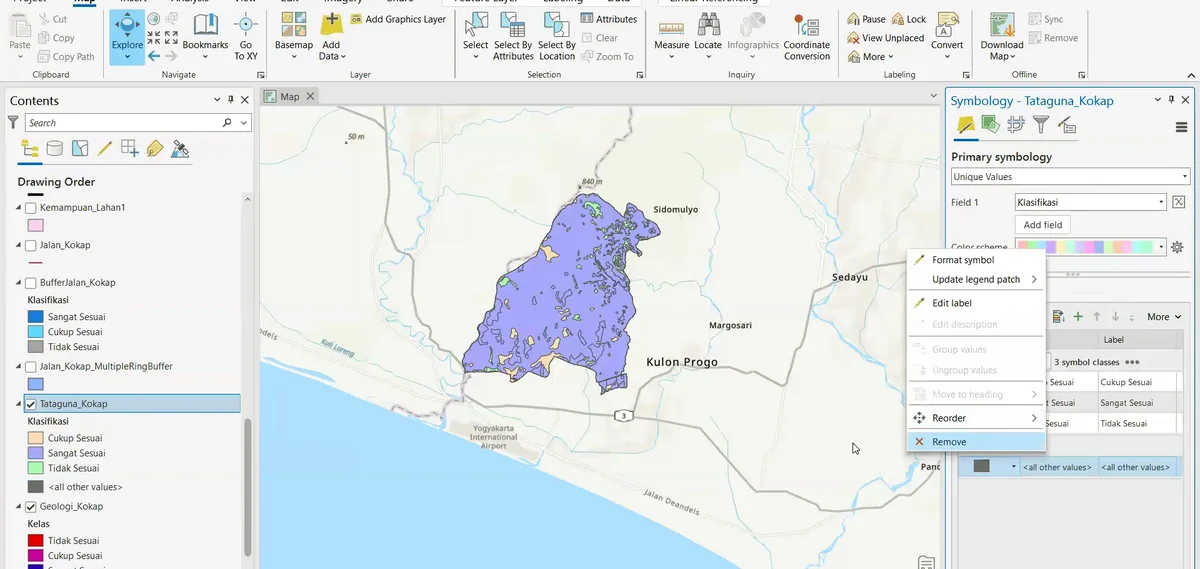
Stage 05 of the ArcGIS Pro sequence: geological features are selected and inspected against the basemap to confirm their extent, identity and spatial relationship with neighbouring units.
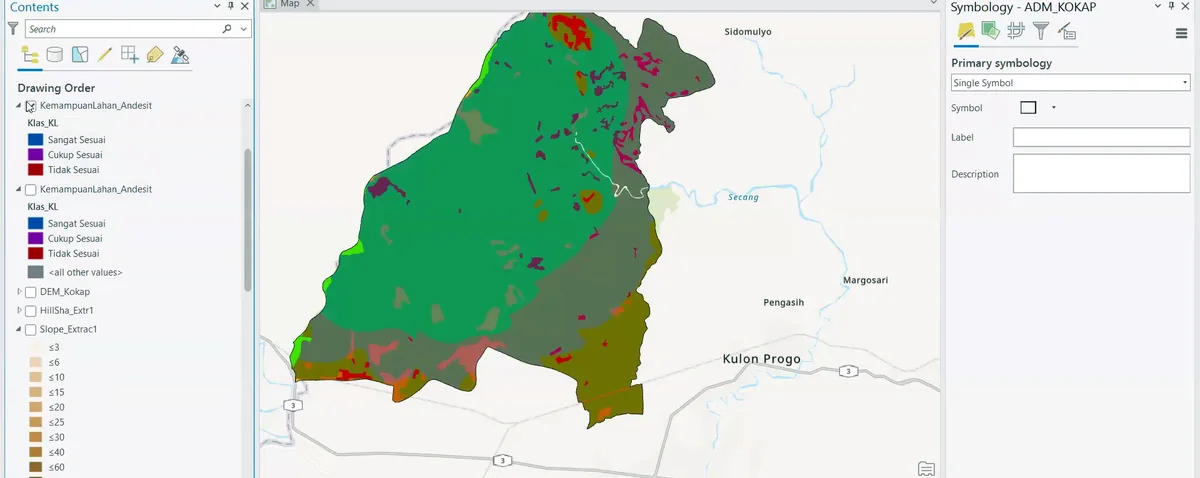
Stage 06 of the ArcGIS Pro sequence: the mapped units are displayed with a revised colour hierarchy and contrasting boundaries to improve separation between formations.
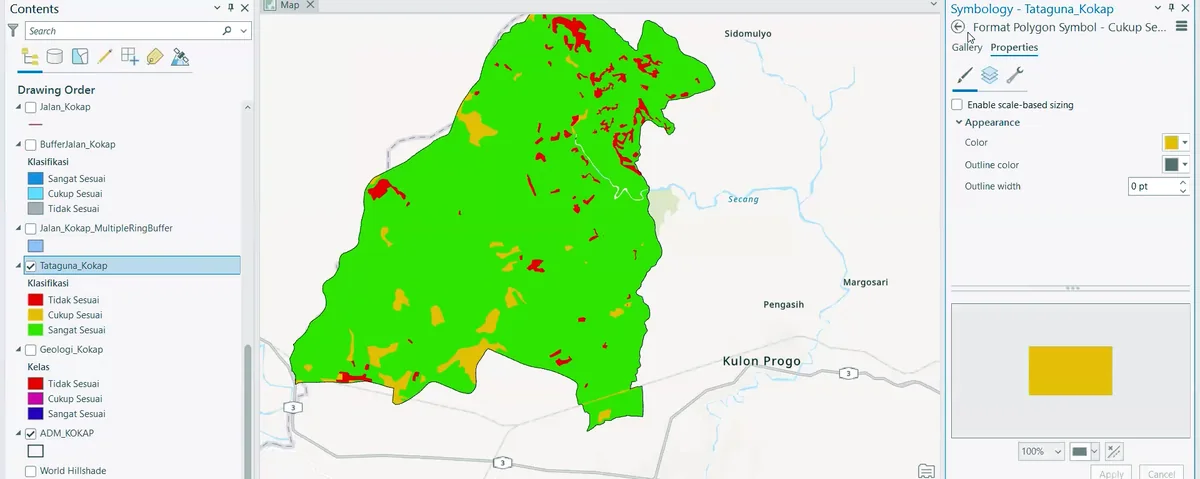
Stage 07 of the ArcGIS Pro sequence: formation polygons, linear features and point observations are inspected together to locate boundary gaps, overlaps or features assigned to the wrong unit.
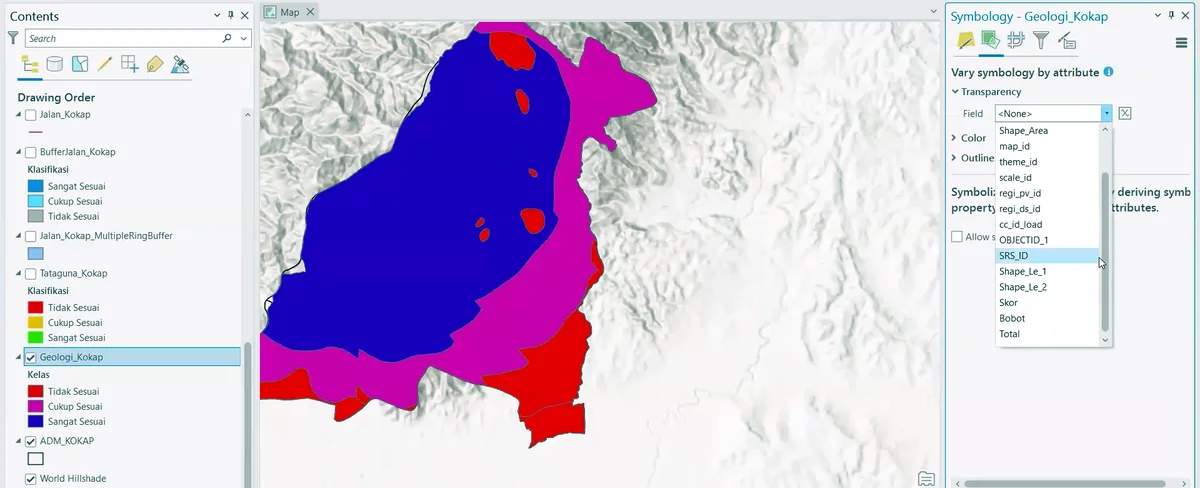
Stage 08 of the ArcGIS Pro sequence: alternative colour classifications are compared on the same mapped extent to confirm that the final legend preserves the intended unit relationships.
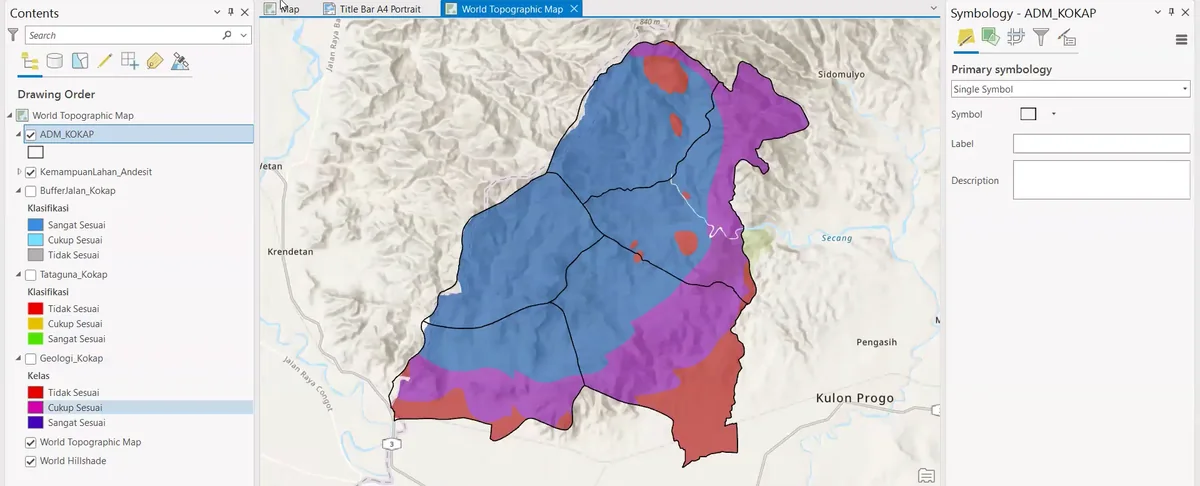
Stage 09 of the ArcGIS Pro sequence: the geological map is arranged with its thematic layers, drainage and supporting map elements in a publication layout.
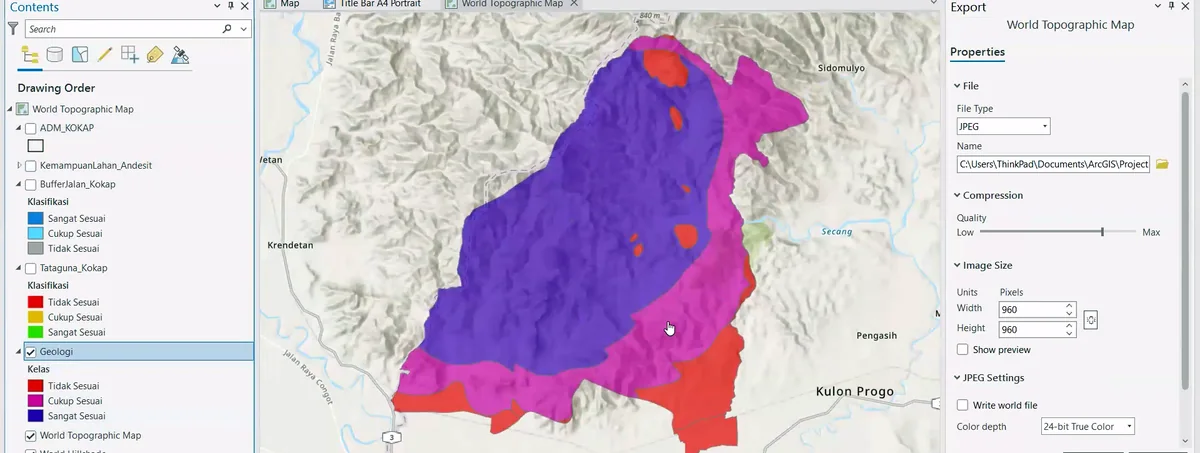
Stage 10 of the ArcGIS Pro sequence: the completed map and legend are reviewed at output scale, with the final symbology and page composition visible together.